The Ultimate Guide to Connect MySQL to Google Data Studio (Looker Studio)

Let’s say you want to visualize data from a MySQL database. You can do this by manually querying the data using SQL statements and exporting the results to any data visualization tool. But what if you want to build visual reports in Google Data Studio (formerly Looker Studio) from MySQL that update on their own?
This is where Looker Studio MySQL connection can help. In this article, learn to connect MySQL to Looker Studio and let your data make more sense! You’ll also learn to automate the data flow between MySQL and Looker Studio at regular intervals.
Methods to connect MySQL to Google Data Studio (Looker Studio)
There are two main ways to connect MySQL database to Looker Studio and create visual reports. Here’s a quick overview of each of them:
- Coupler.io – You can use Coupler.io, a data integration platform, to connect MySQL to Looker Studio. The major benefit of this method is that you can transform the data before importing it into Looker Studio and schedule automatic data refresh like every 15 minutes.
- Using the native connector – The official MySQL connector by Google allows you to connect and access your MySQL database directly from the Looker Studio. It is a straightforward method.
Now, let’s explore each method to connect Looker Studio to MySQL database!
Connect MySQL to Looker Studio using Coupler.io
Coupler.io is a data integration platform that lets you connect 400+ sources to Looker Studio and other destinations. You can use it to export, transform, and import MySQL data into Looker Studio, all automatically and at regular intervals.
To begin, click Proceed in the form below where we’ve preselected MySQL as the source and Looker Studio as the destination. You’ll need to sign up for a free Coupler.io account.
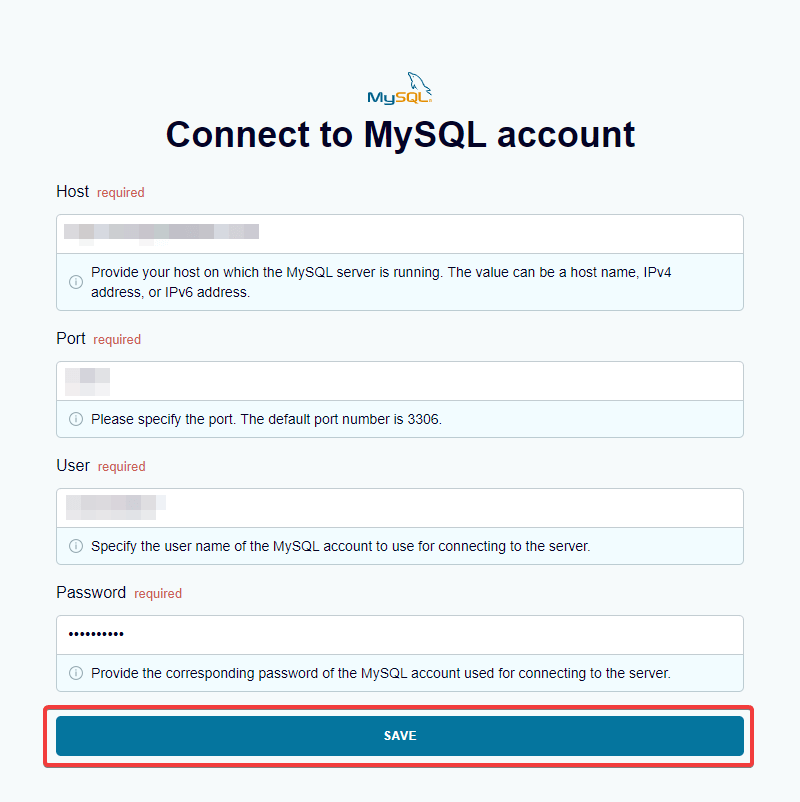
- In the Source Account, connect your MySQL account by entering the server host, port, and credentials. Click Save to proceed further.
- Now, enter the respective Database and Table names from which you want to fetch the data.
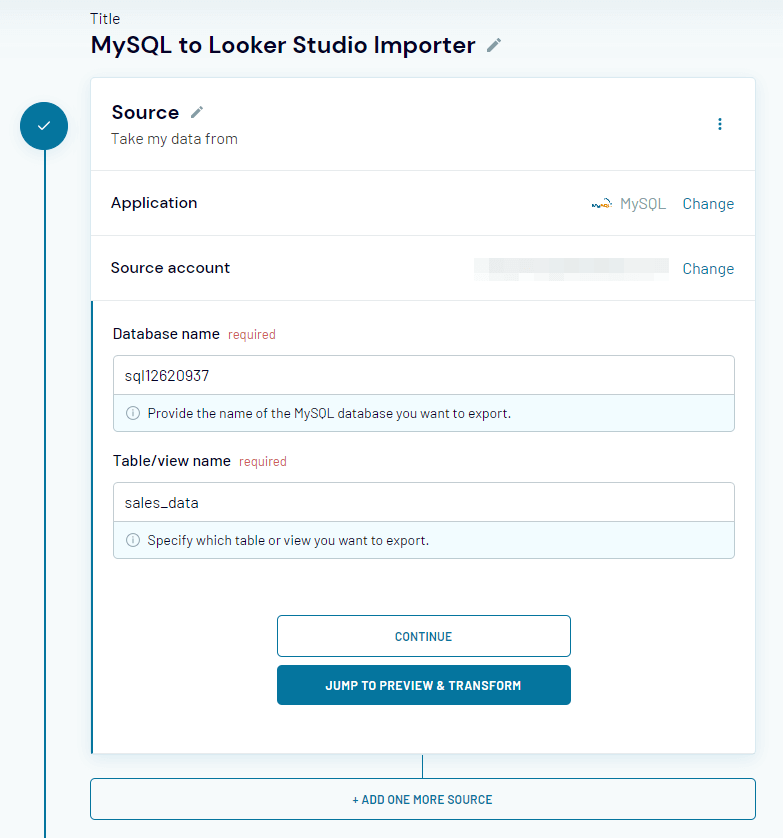
At this stage, you can also add additional data sources and blend data before importing it to Looker Studio. Check out other possible Looker Studio integrations.
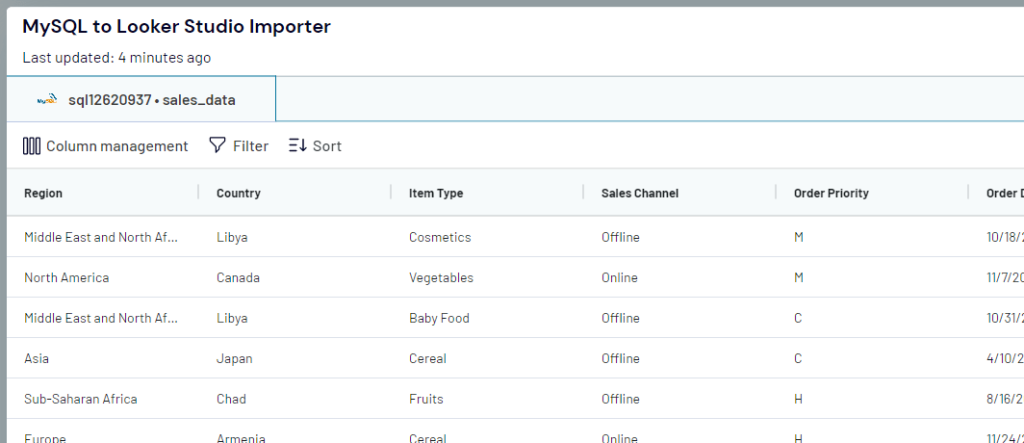
- Coupler.io offers you a preview of the data before importing it into Looker Studio. Here, you can also make changes to the data and transform it as you wish, which is optional. You can hide/show and rename columns and apply filters.
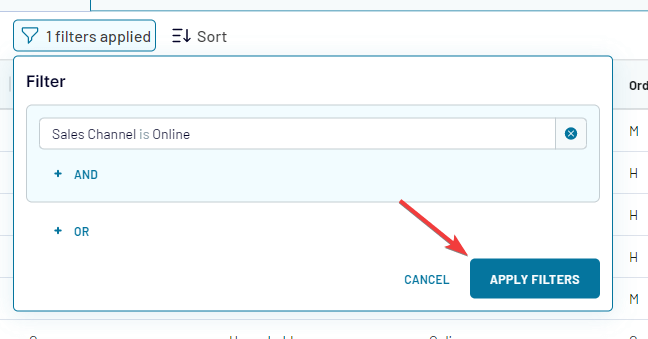
Here’s an example of applying a condition-based filter in a table.
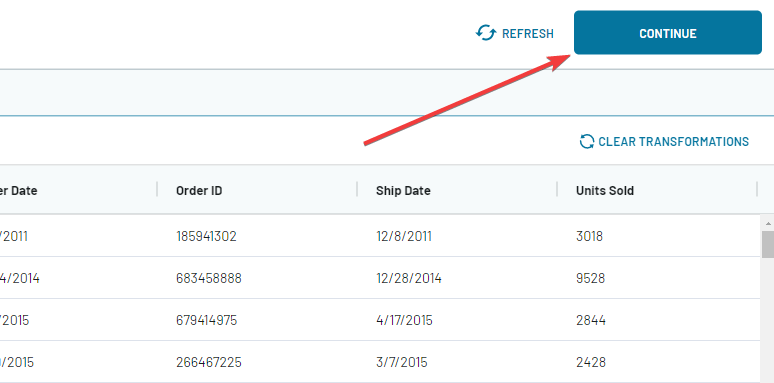
- Once you’re done with the data transformation, click Continue in the top-right corner.
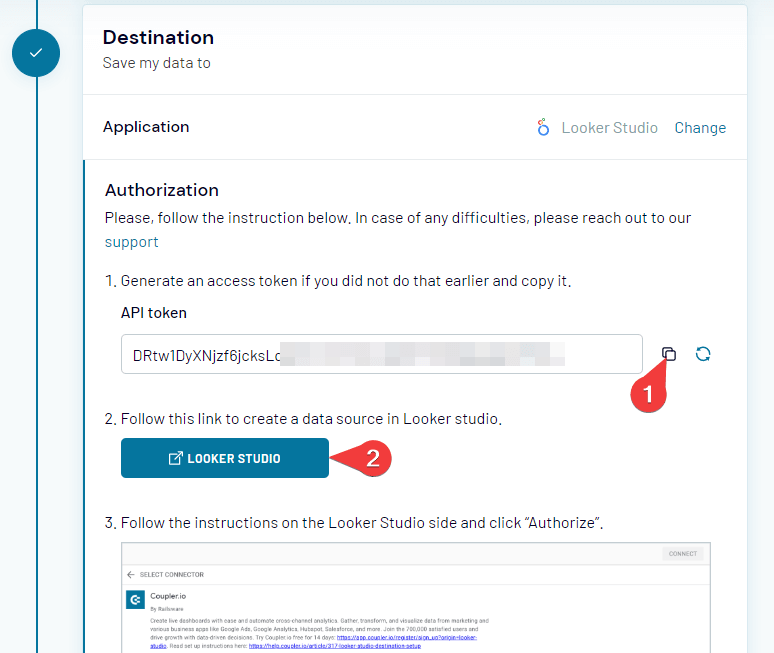
- Now, in the destination settings, copy the API token and click the Looker Studio link. (Click Generate API token if you’ve not generated it yet.)
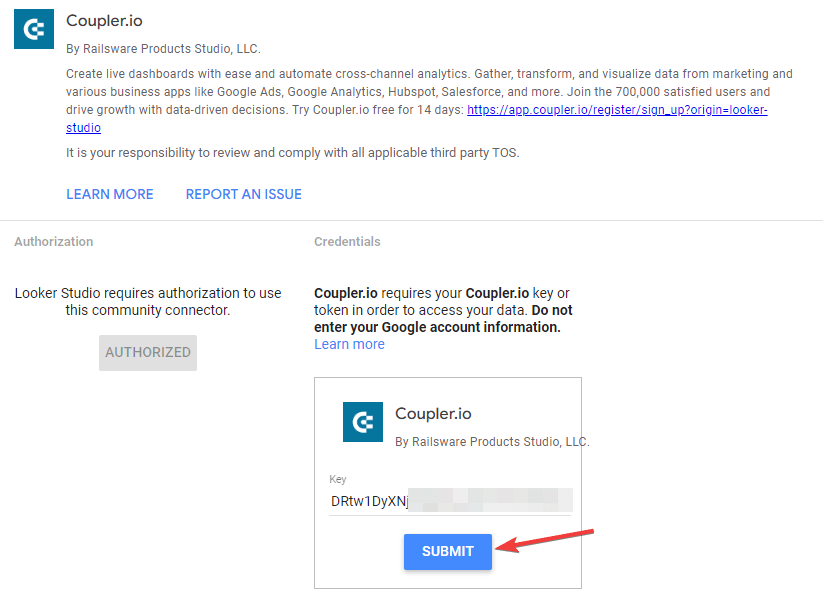
- You’ll be taken to the Coupler.io connector for Looker Studio. Enter the API Key that you copied in the previous step and click Submit.
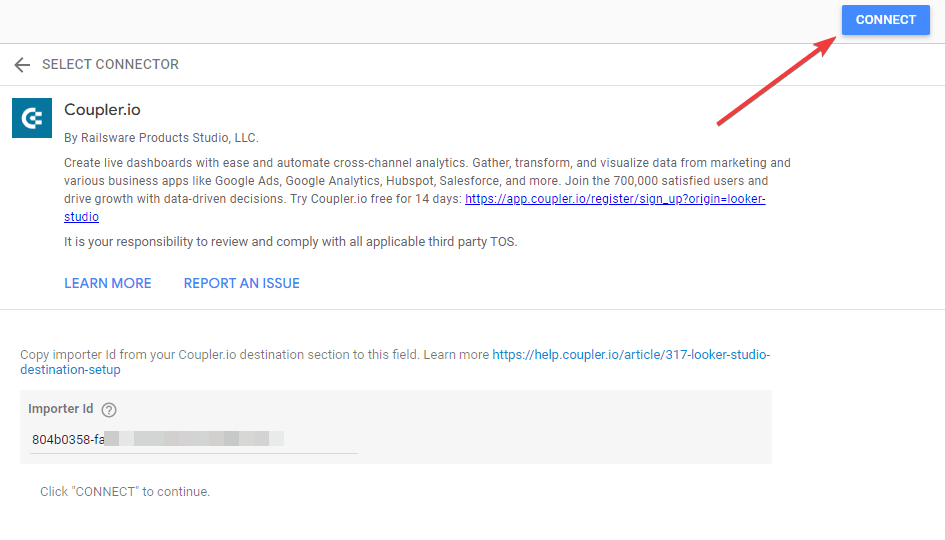
- Now, on the next screen, the Importer Id field will be pre-filled. Keep it as it is and click Connect.
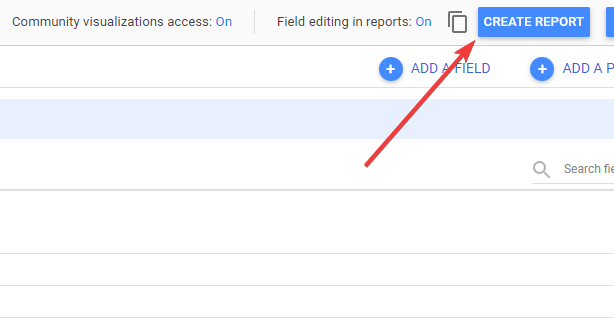
- The Coupler.io connector will pull the required table from MySQL in Looker Studio. Verify the data and click Create Report.
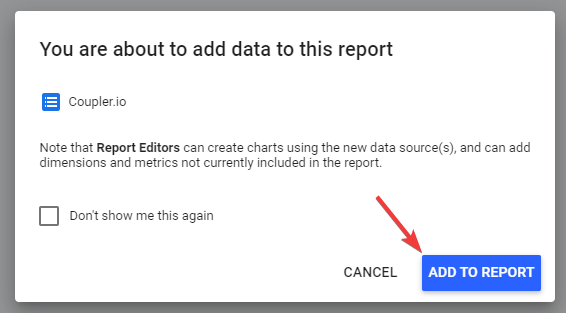
- Click Add to Report on the popup to add MySQL data to Looker Studio.
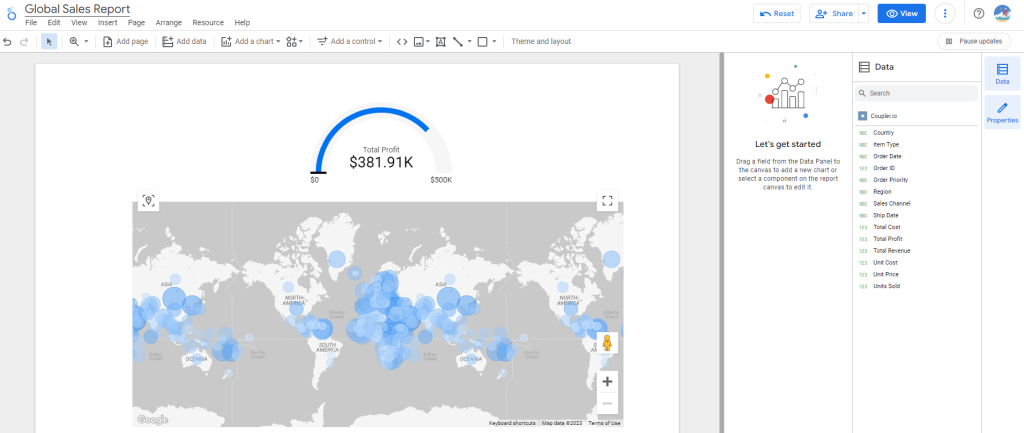
Woohoo! The MySQL data has been successfully imported to Looker Studio. You can now use it to create beautiful charts and visual reports. ?
- Lastly, enable the Automatic data refresh option in the Coupler.io importer and configure it to refresh the data automatically at regular intervals. Here you can set the auto-data refresh interval, applicable days of the week, and time preferences.
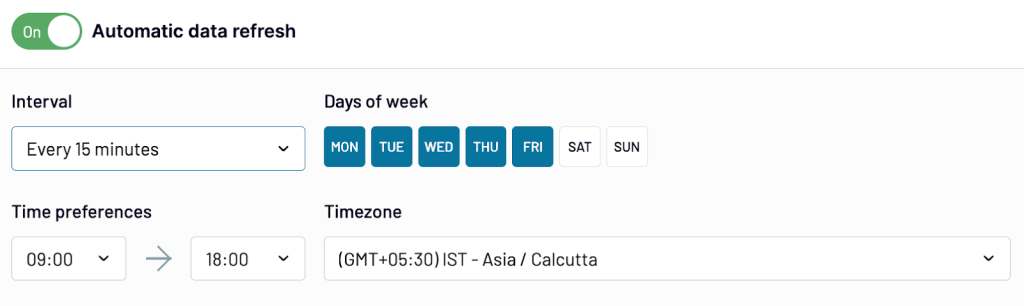
Coupler.io will now update the data automatically from MySQL at the specified interval, for example, every 15 minutes. At the same time, in Looker Studio, the report will be updated every 12 hours or you can refresh it manually whenever you want.
Connect MySQL to Looker Studio using the native connector
Google Looker Studio offers a native connector to connect to a MySQL database as a data source. It is an easy way to directly pull the raw data, but unlike Coupler.io, it does not offer any data transformation features. Check out the best Looker Studio connectors that we selected.
Here’s how to use Looker Studio MySQL connector:
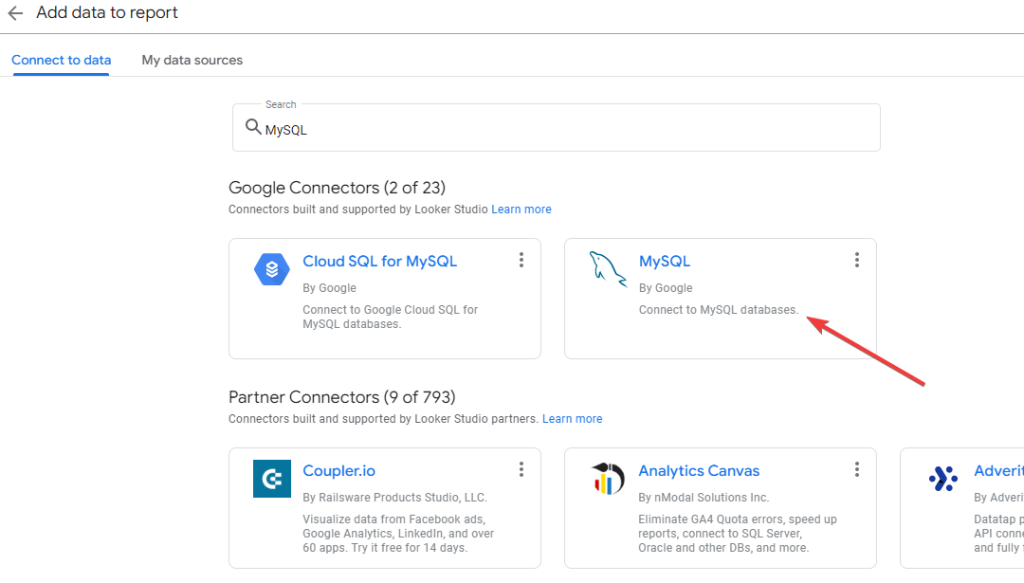
- In Looker Studio, search for MySQL in the data sources and choose the MySQL connector by Google.
- In the Database Authentication, enter the basic details of your MySQL database, such as host, port, database, and credentials. Click Authenticate to verify the details. In this step, you can also use the JDBC URL of your database for authentication.
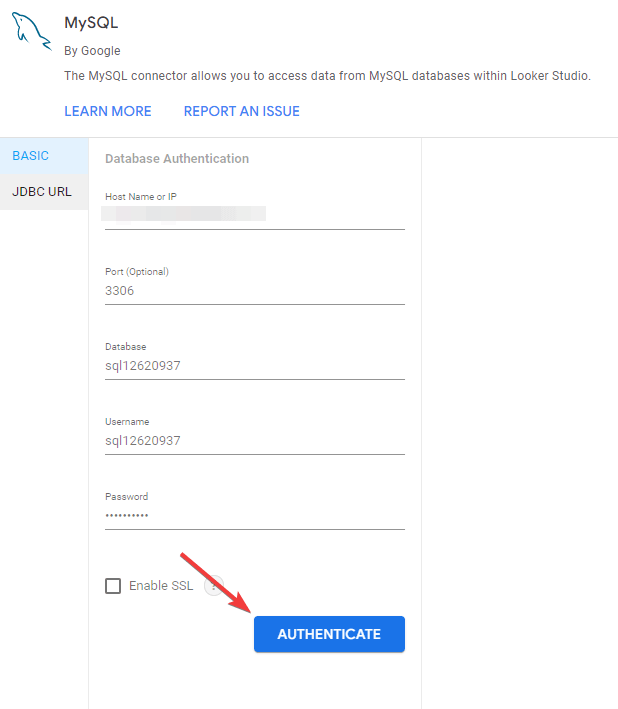
Optionally, you can also enable SSL and enter its configuration for a secure connection with the database.
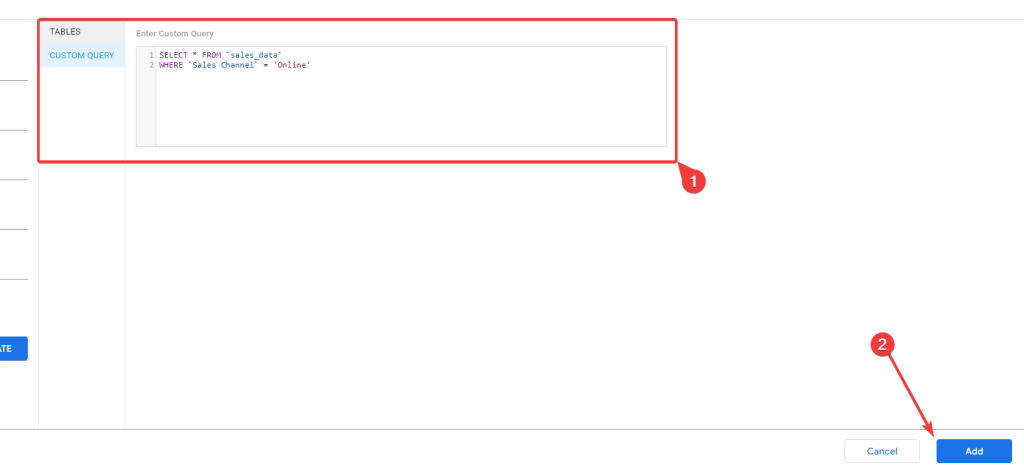
- Next, select the tables that you want to import to Looker Studio from MySQL or enter an SQL query (as shown below) and click Add.
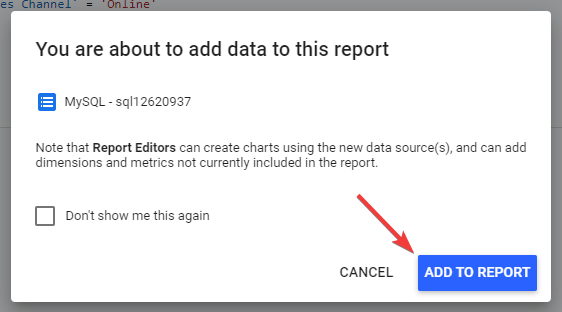
- Next, click Add to Report to import the results to Looker Studio.
- Now, you can easily use the MySQL data in Looker Studio to create reports.
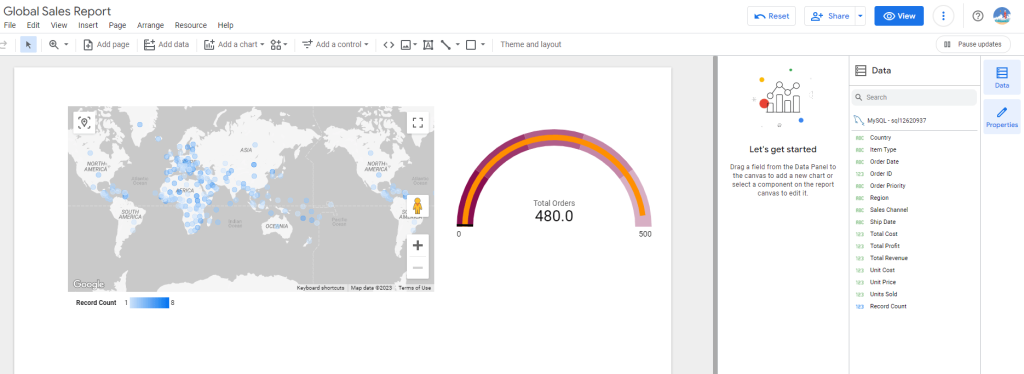
This way, you can use the native Looker Studio MySQL connector to visualize your data and generate reports.
How to change data refresh interval in Looker Studio?
By default, the data auto-refresh rate is set to 12 hours, which you can change as per your preference. This is an essential step if you want to stay updated with real-time data. You can configure the Looker Studio data freshness to up to 15 minutes.
Here’s how to do it:
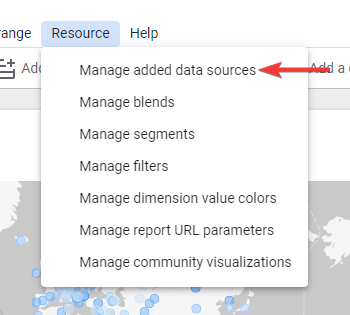
- In the Looker Studio editor, click Managed added data sources under the Resource tab.
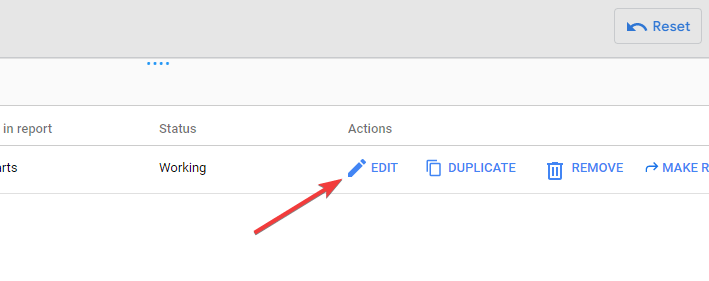
- Edit the MySQL data source.
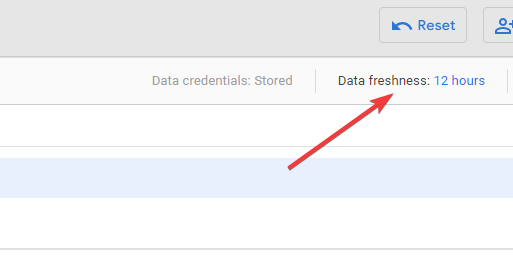
- Now, in the top-right corner, you’ll see the Data freshness of that connection. Click on it.
- Finally, select your preferred Data freshness and click Set Data Freshness.
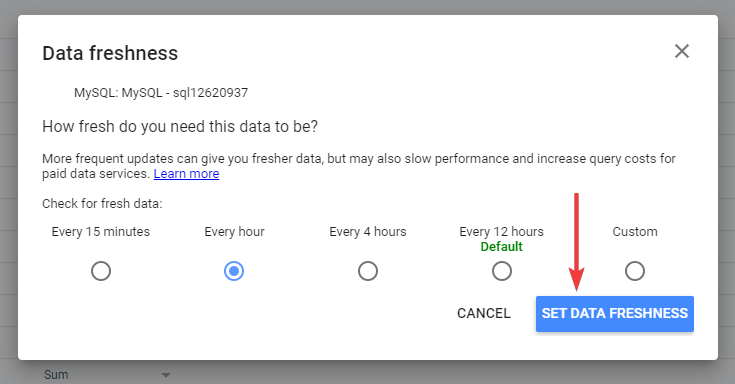
In the above example, we set the Data Freshness to every hour, which means Looker Studio will refresh the data every hour for that connection.
Why can’t I connect MySQL database to Looker Studio?
There can be several reasons you can’t connect MySQL Database to Looker Studio. Some common reasons are:
- You entered the wrong server details and authentication credentials.
- You’re trying to access a local server.
- The firewall on the MySQL server is blocking the connection request from Google Looker Studio.
- You’re using an outdated version of MySQL. The native Looker Studio MySQL connector is not compatible with MySQL versions earlier than 5.6.
- The database contains spatial data types, which are not supported by Looker Studio.
In the above article, we discussed two main ways to connect MySQL database to Looker Studio and generate reports. The native Looker Studio MySQL connector by Google is straightforward. You can use it to fetch specific tables or query the database and import the results. However, this method is not efficient for multiple data sources, as they can affect performance.
On the other hand, Coupler.io offers more flexibility with rich features such as data transformation and blending. The data integration platform can help you use multiple data sources in one importer, blend data, and use it as a single data source in Looker Studio. You can also choose to hide the unnecessary columns in the output for cleaner data analysis.

Automate data export with Coupler.io
Get started for free